Configuration in MikroTik RouterBoard for HSGQ OLT
Note
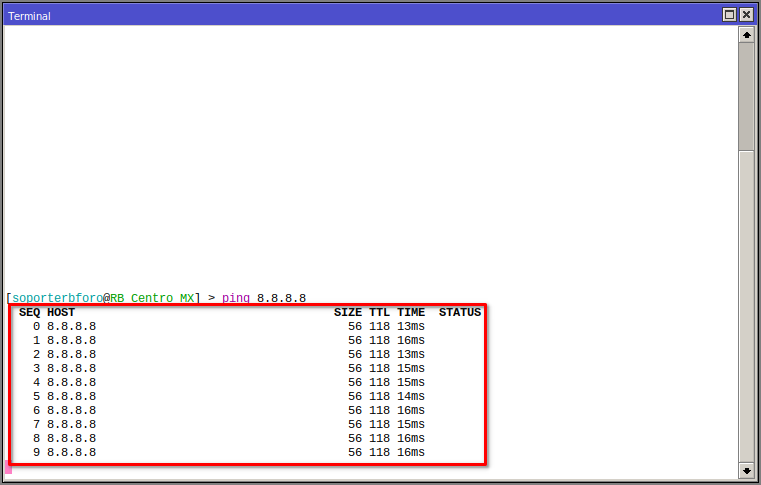
Router with Internet Output

Connection via Ethernet port.

Bridge Creation
We are going to create a bridge to assign an IP from the OLT's default management network and also to assign an IP for when we change the default network.
1 Go to the Bridge section in your RouterBoard menu to create the bridge1 interface and group the ports that will be working on the OLT network.

2 Assign the two ports connecting to the OLT to bridge1.


VLAN Creation for Hosts
1 Go to the interface settings and then to the VLAN section, where you will create a vlan with the name vlan900 and ID 900, which will be where the subnetwork for the hosts is created.

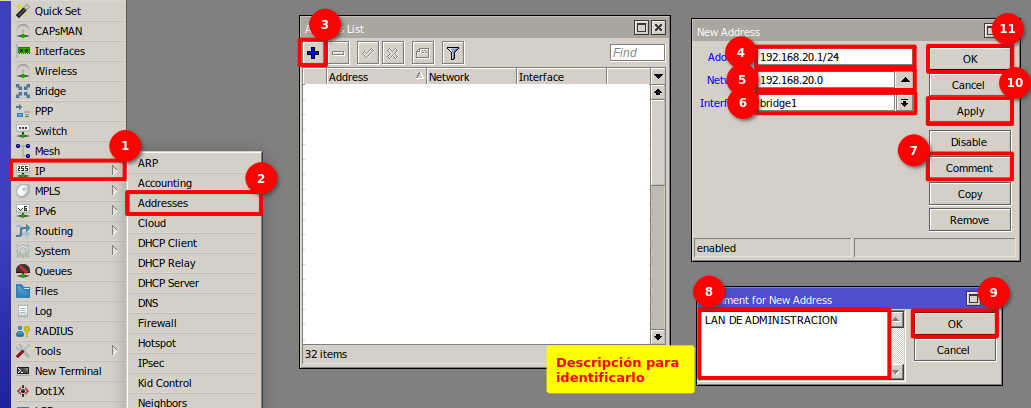
Creation of Network Segment to Connect our OLT
Change Default IP of the OLT
For our example, we will use the segment 192.168.20.0/24

To provide the service, we must create a VLAN for clients. For this example, the VLAN 900 will be created with the Network Segment 192.168.170.0/24
VLAN for Clients

Client VLAN Network Segment

Next Step
April 12, 2024, 3:32 p.m. - Visitas: 11132
